Min första vecka med min begagnade, digitala Nikon D7000 systemkamera och mina första Photographic Steps bjöd på både höjdpunkter och misstag. Trodde faktiskt att det skulle vara mer misstag än höjdpunkter. Genom att jag varit aktiv i fotandet med min mobil, på grund av hög närvaro på Gurushots, så var själva bildskapandet igång i mig. Värre var det med det tekniska. Grunderna har jag ju med mig från min tid med analog kamera men insåg att det fanns lite fler alternativ nu…
Men att börja skjuta i automatiskt läge är alltid bra, sedan kan man gå på det mer komplicerade när man fått till autofokusen att fungera och hindrat blixten från att poppa upp hela tiden!
Så här kommer mina tips och vi börja med den allra första bilden jag tog med kameran:
My first week with my used, digital Nikon D7000 system camera and my first Photographic Steps offered both highlights and mistakes. Actually thought it would be more mistakes than highlights. Because I was active in the photography with my mobile, due to high presence on Gurushots, the actual image creation was in progress in me. It was worse with the technology. I have the basics with me from my time with analog camera but realized that there were a few more options now …
But to start shooting in automatic mode is always good, then you can go in to the more complicated when you get the autofocus to work and prevented the flash from popping up all the time!
So here are my tips and we start with the very first picture I took with the camera:

…och i den bilden kan vi ju se de flesta nybörjarmisstag man kan göra!
Tips nummer 1
Se till så att autofokusen fokuserar på det du vill ha skarpt i bilden. Här har skärpan hamnat i bakgrunden.
Tips nummer 2
Se till att få en trevlig komposition som inte spretar. Är det datorn du vill fotografera gå då tex närmare så inte saker i bakgrunden stör. Vill du fotografera miljön? Sätt då din förgrund, alltså datorn i denna bild, vid sidan om eller i nederkant, så den inte dominerar hela bilden.
Tips nummer 3
Testa med och utan den inbyggda blixten och se vilket du föredrar. Här passade det inte, för blixten har reflekterats i dataskärmen och skapat en överexponerad fläck mitt i bild. Tänk bara på att slutartiden kan bli längre när du väljer bort den inbyggda blixten och att du då måste hålla kameran väldigt still eller ta stöd mot något för att inte få skakningsoskärpa.
…and in that picture we can see the most beginner mistakes you can make!
Tip number 1
Make sure the autofocus focuses on what you want sharp in the image. Here the sharpness has ended up in the background.
Tip number 2
Make sure you get a nice composition that does not spread. If it is the computer you want to photograph, then go closer for example, so that things in the background do not interfere. Do you want to photograph the environment? Then place your foreground, i.e. the computer in this image, next to or at the bottom, so that it does not dominate the entire image.
Tip number 3
Test with and without the built-in flash and see which one you prefer. It did not fit here, because the flash has been reflected in the computer screen and created an overexposed spot in the middle of the image. Just keep in mind that the shutter speed may be longer when you opt out of the built-in flash and that you then have to hold the camera very still or take support to something to avoid shake blur.
Här har vi ett mer lyckat exempel med bättre komposition och utan den inbyggda blixten och jag har tagit stöd mot relingen för att inte få skakningsoskärpa pga den långa slutartiden på 1/15 dels sekund.

f 3,5 1/15s ISO800 18mm
Here we have a more successful example with better composition and without the built-in flash and I have taken support against the railing to not get shake blur due to the long shutter speed of 1/15 part second.
Testade även att fotografera när min dotter tränade med sin hund Pixie och kom fram till två saker till som är bra att hålla reda på:
Tips nummer 4
Om du zoomar in för att skala bort onödig bakgrund. Ta inte bort för mycket. Spara lite. För det är enklare att beskära en bild efteråt än att lägga till saker som inte finns med! Här ett tydligt exempel:
Also tried to photograph when my daughter trained with her dog Pixie and came up with two more things that are good to keep track of:
Tip number 4
If you zoom in to peel off unnecessary background. Do not remove too much. Save a little. Because it’s easier to crop an image afterwards than to add things that are not included! Here is a clear example:

f 6,3 1/1600s ISO800 200mm
Tips nummer 5
Städa undan om du har tid! Om du planerar att fotografera ett visst objekt på en viss plats, så ta dig tid att plocka undan saker som stör eller hitta en plats att fotografera ifrån som inte ger dig en störande bakgrund.
Tip number 5
Clean up if you have time! If you are planning to photograph a certain object in a certain place, then take the time to remove things that are disturbing or find a place to photograph from that does not give you a disturbing background.

Skulle jag beskära den här bilden mer för att få bort den stökiga studsmattan skulle Pixies öron försvinna eller i alla fall få för lite luft ovanför sig. Ibland kan man inte välja, men om du kan välj en bakgrund som passar till det som du ska fotografera, så kommer det att bli bättre!
If I were to crop this image more to get rid of the messy trampoline, Pixie’s ears would disappear or at least get too little air above them. Sometimes you can not choose, but if you can choose a background that suits what you are going to photograph, it will be better!
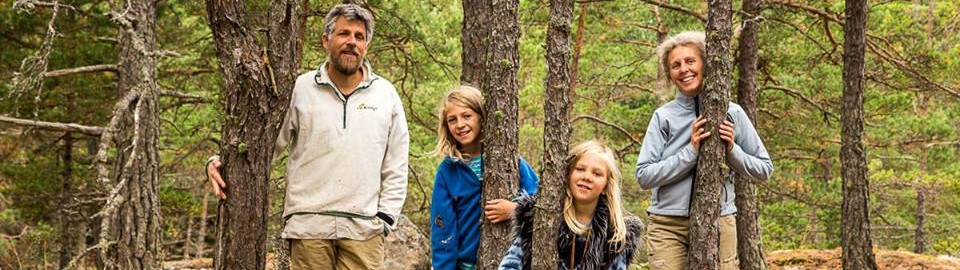
Here are some pictures that went out well this week!


